
Agents are the people who answer conversations. Teams group them, such as Sales or Support, so a conversation can go to a whole group. Only administrators can change either, under Settings.
Watch the walkthrough
Agents
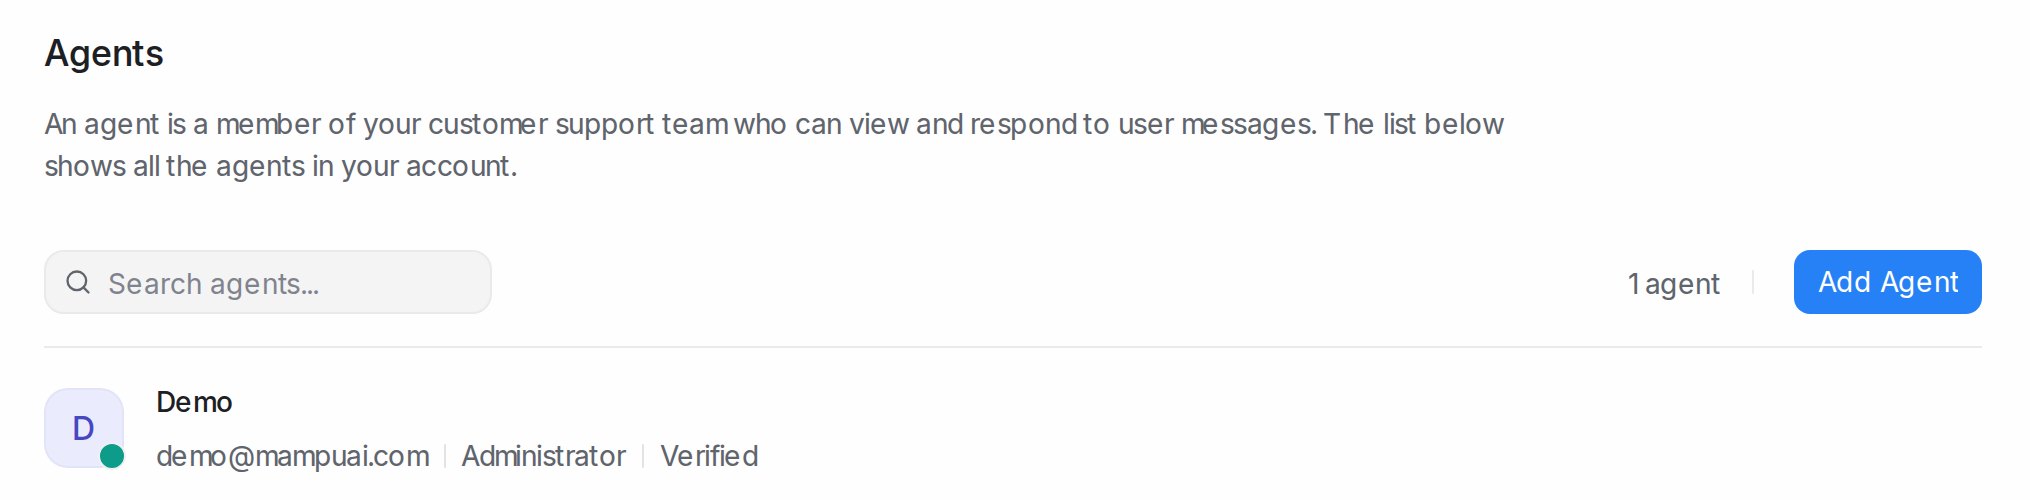
Settings → Agents lists everyone with their role and whether they confirmed their invitation.
Add an agent
Only administrators can add agents.
-
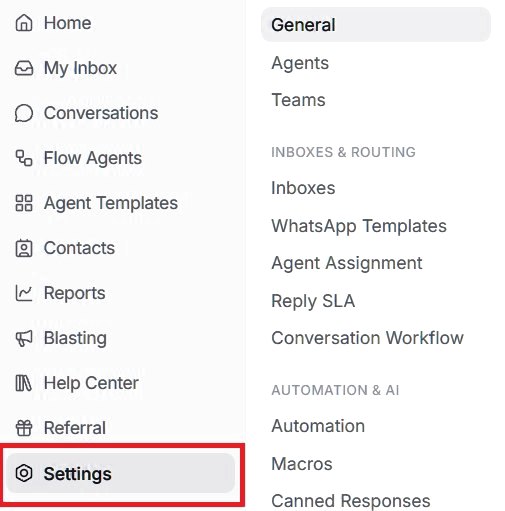
Open Settings. Click Settings at the bottom of the left menu, below Referral. The settings menu opens beside it.
-
Go to Agents. In the settings menu, under Workspace, click Agents. The page lists everyone who already has access. Click Add Agent at the top right.

-
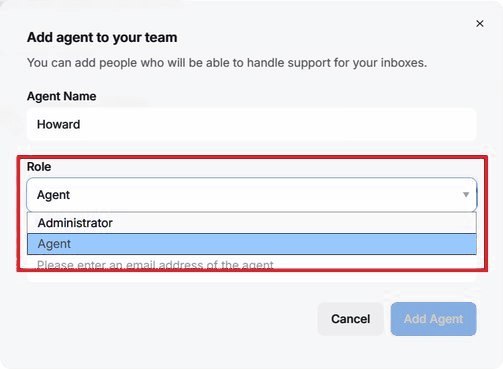
Enter their name and choose a role. In the Add agent to your team pop-up, type the person’s name in Agent Name, the way your team should see it. Under Role, Agent is already selected; the table below shows what each role can do.
-
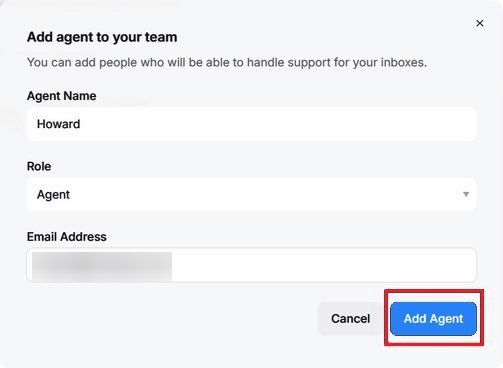
Enter their email and add them. Type their email in Email Address. Their invitation is sent there, so check it carefully. Then click Add Agent, which turns blue once the name and email are filled in. Cancel closes the pop-up without adding anyone.
-
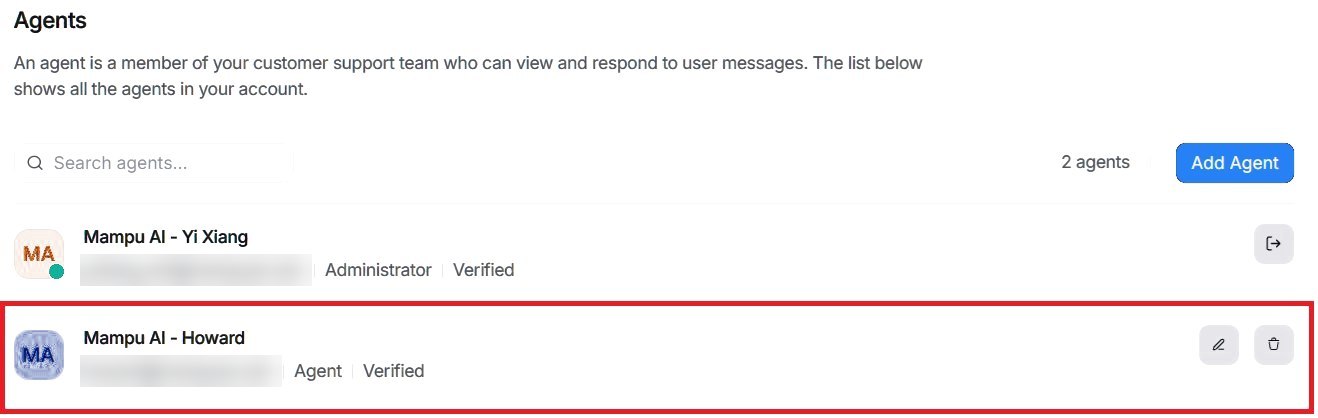
Check the agents list. The person now appears in the list with their email and role, and the agent count goes up by one. They get an email with a link to set their password and join. The pencil and bin on their row let you edit or remove them later; see Edit, reset, remove below.
| Role | What they can do |
|---|---|
| Agent | Reply to conversations in their inboxes |
| Administrator | Everything an agent can do, plus every setting, report and billing page |
| A custom role you created | Only what that role allows; see Custom roles: give a supervisor their own inboxes |
After you add someone:
- Add them to each inbox they should answer, on its Collaborators tab; they only see those inboxes. See Inbox settings, tab by tab.
- Each person uses one seat on your plan. See Add-ons: extra contacts and agent seats.
Edit, reset, remove
To change someone’s name, role or availability:
-
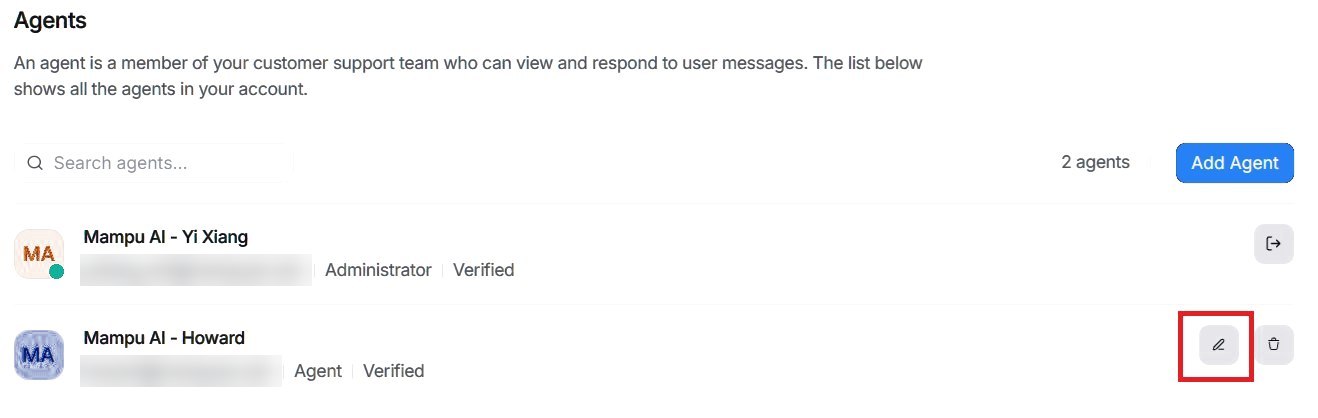
Click the pencil. In Settings → Agents, click the pencil on the right of the person’s row.
-
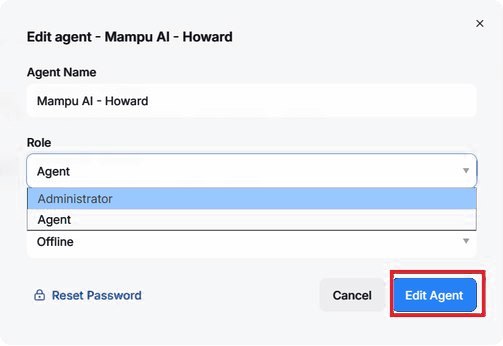
Make your change and save. The Edit agent pop-up opens with their current details. Change the Agent Name, Role or Availability (Online, Busy or Offline). Then click Edit Agent to save, or Cancel to close without changes.
Two more actions:
| Action | What it does |
|---|---|
| Reset Password | In the Edit agent pop-up: email them a link to choose a new password |
| Delete | The bin on their row: remove them after you confirm. Their past replies stay; all their conversations become unassigned |
Teams
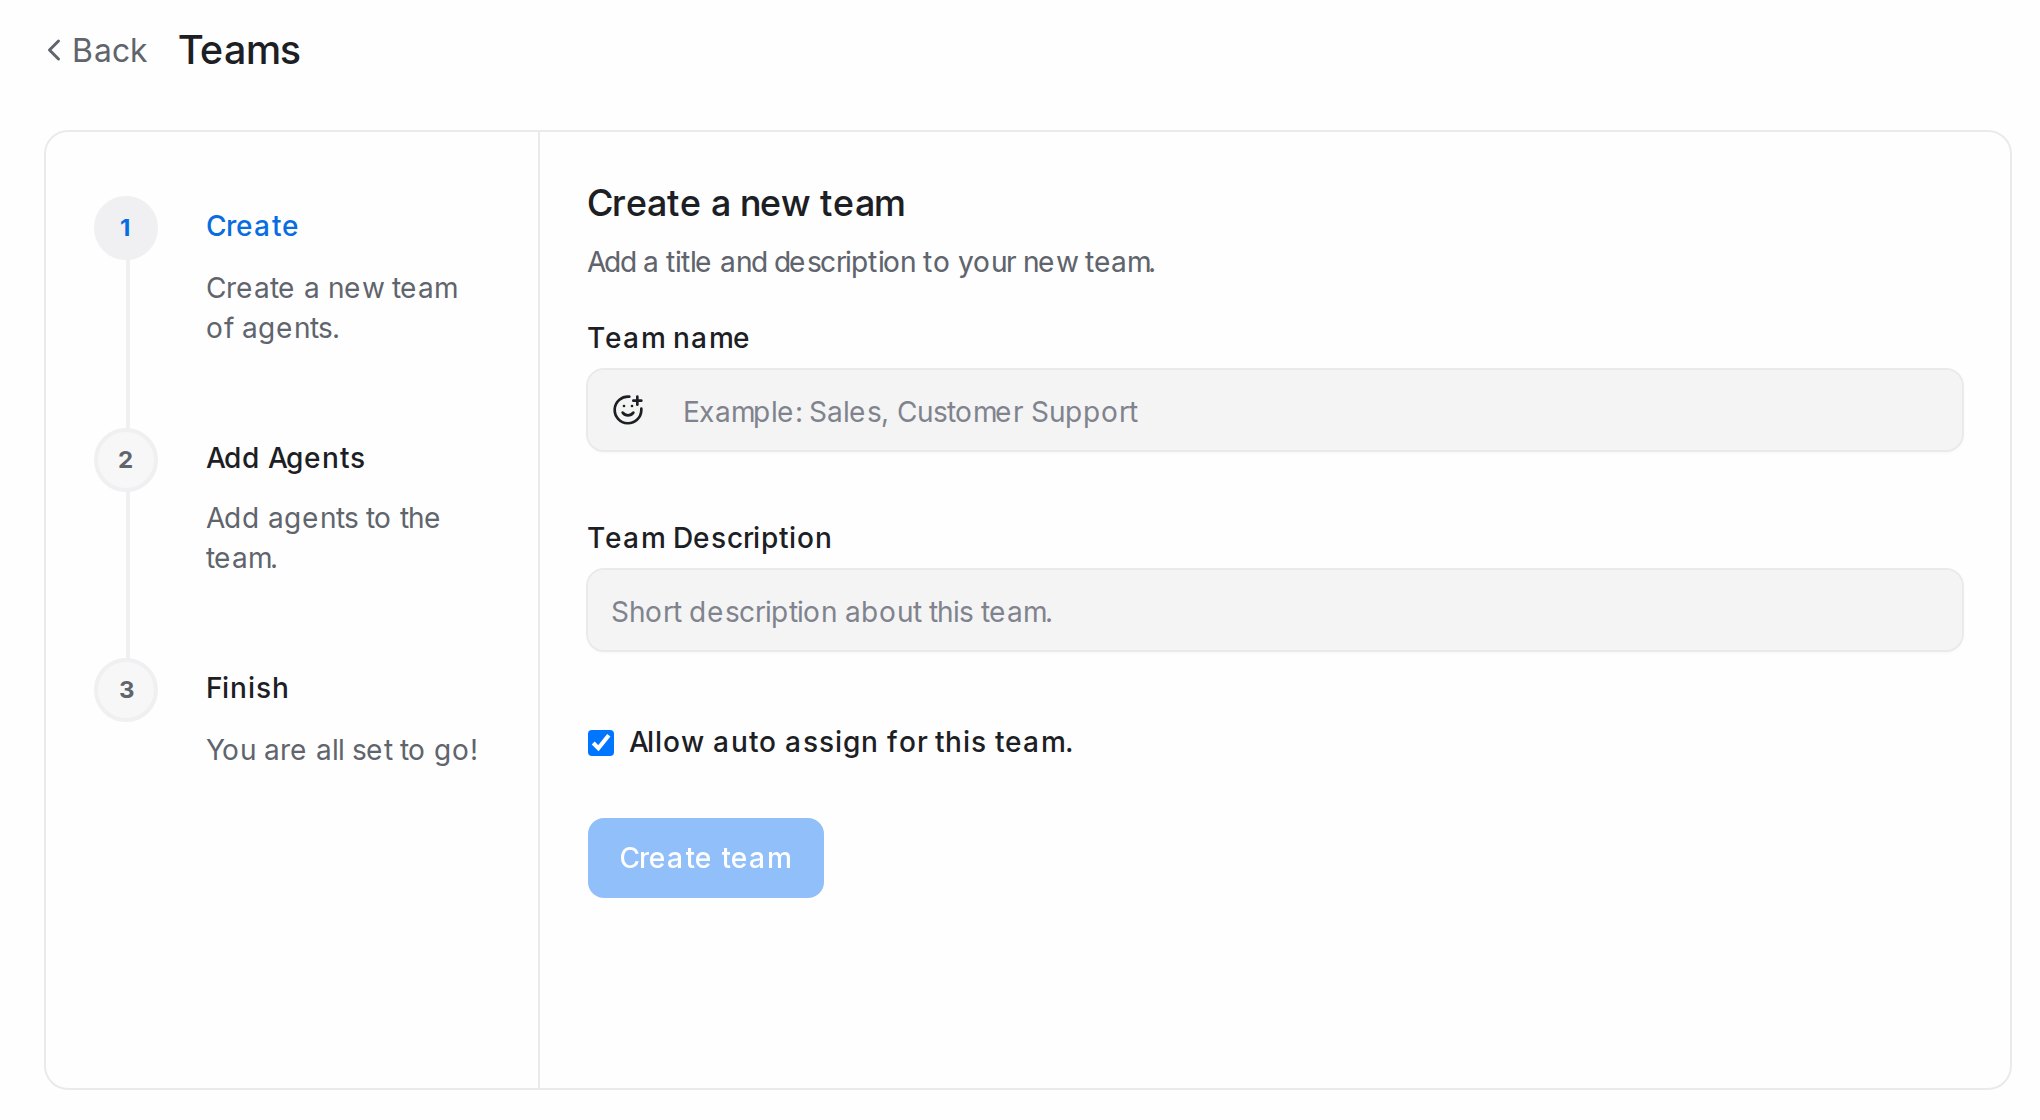
- Open Settings → Teams and click Create new team.
- Create: enter the Team name and Team Description. Allow auto assign for this team (on by default) hands team conversations to one of its members automatically. Click Create team.
- Add Agents: pick members and click Add agents; select all agents adds everyone.
- Finish.
The team then appears under Teams in the Conversations sidebar and wherever you route a conversation: Assigned Team in the details panel, Assign team in the right-click menu and bulk bar, automation rules and flow agent handoffs. Members are notified when a conversation is assigned to their team.
Edit team changes the details or Update agents in team. Delete removes a team; its conversations keep their agent and lose only the team.