
Connecting an email inbox
An Email inbox turns the emails customers send to an address such as [email protected] into conversations, and lets your team answer them from Mampu AI.
1. Add an Email inbox
Go to Settings → Inboxes → Add Inbox and choose Email. On Select your email provider, pick Other Providers; it works with any mailbox, including Gmail and Outlook, through forwarding plus IMAP and SMTP.
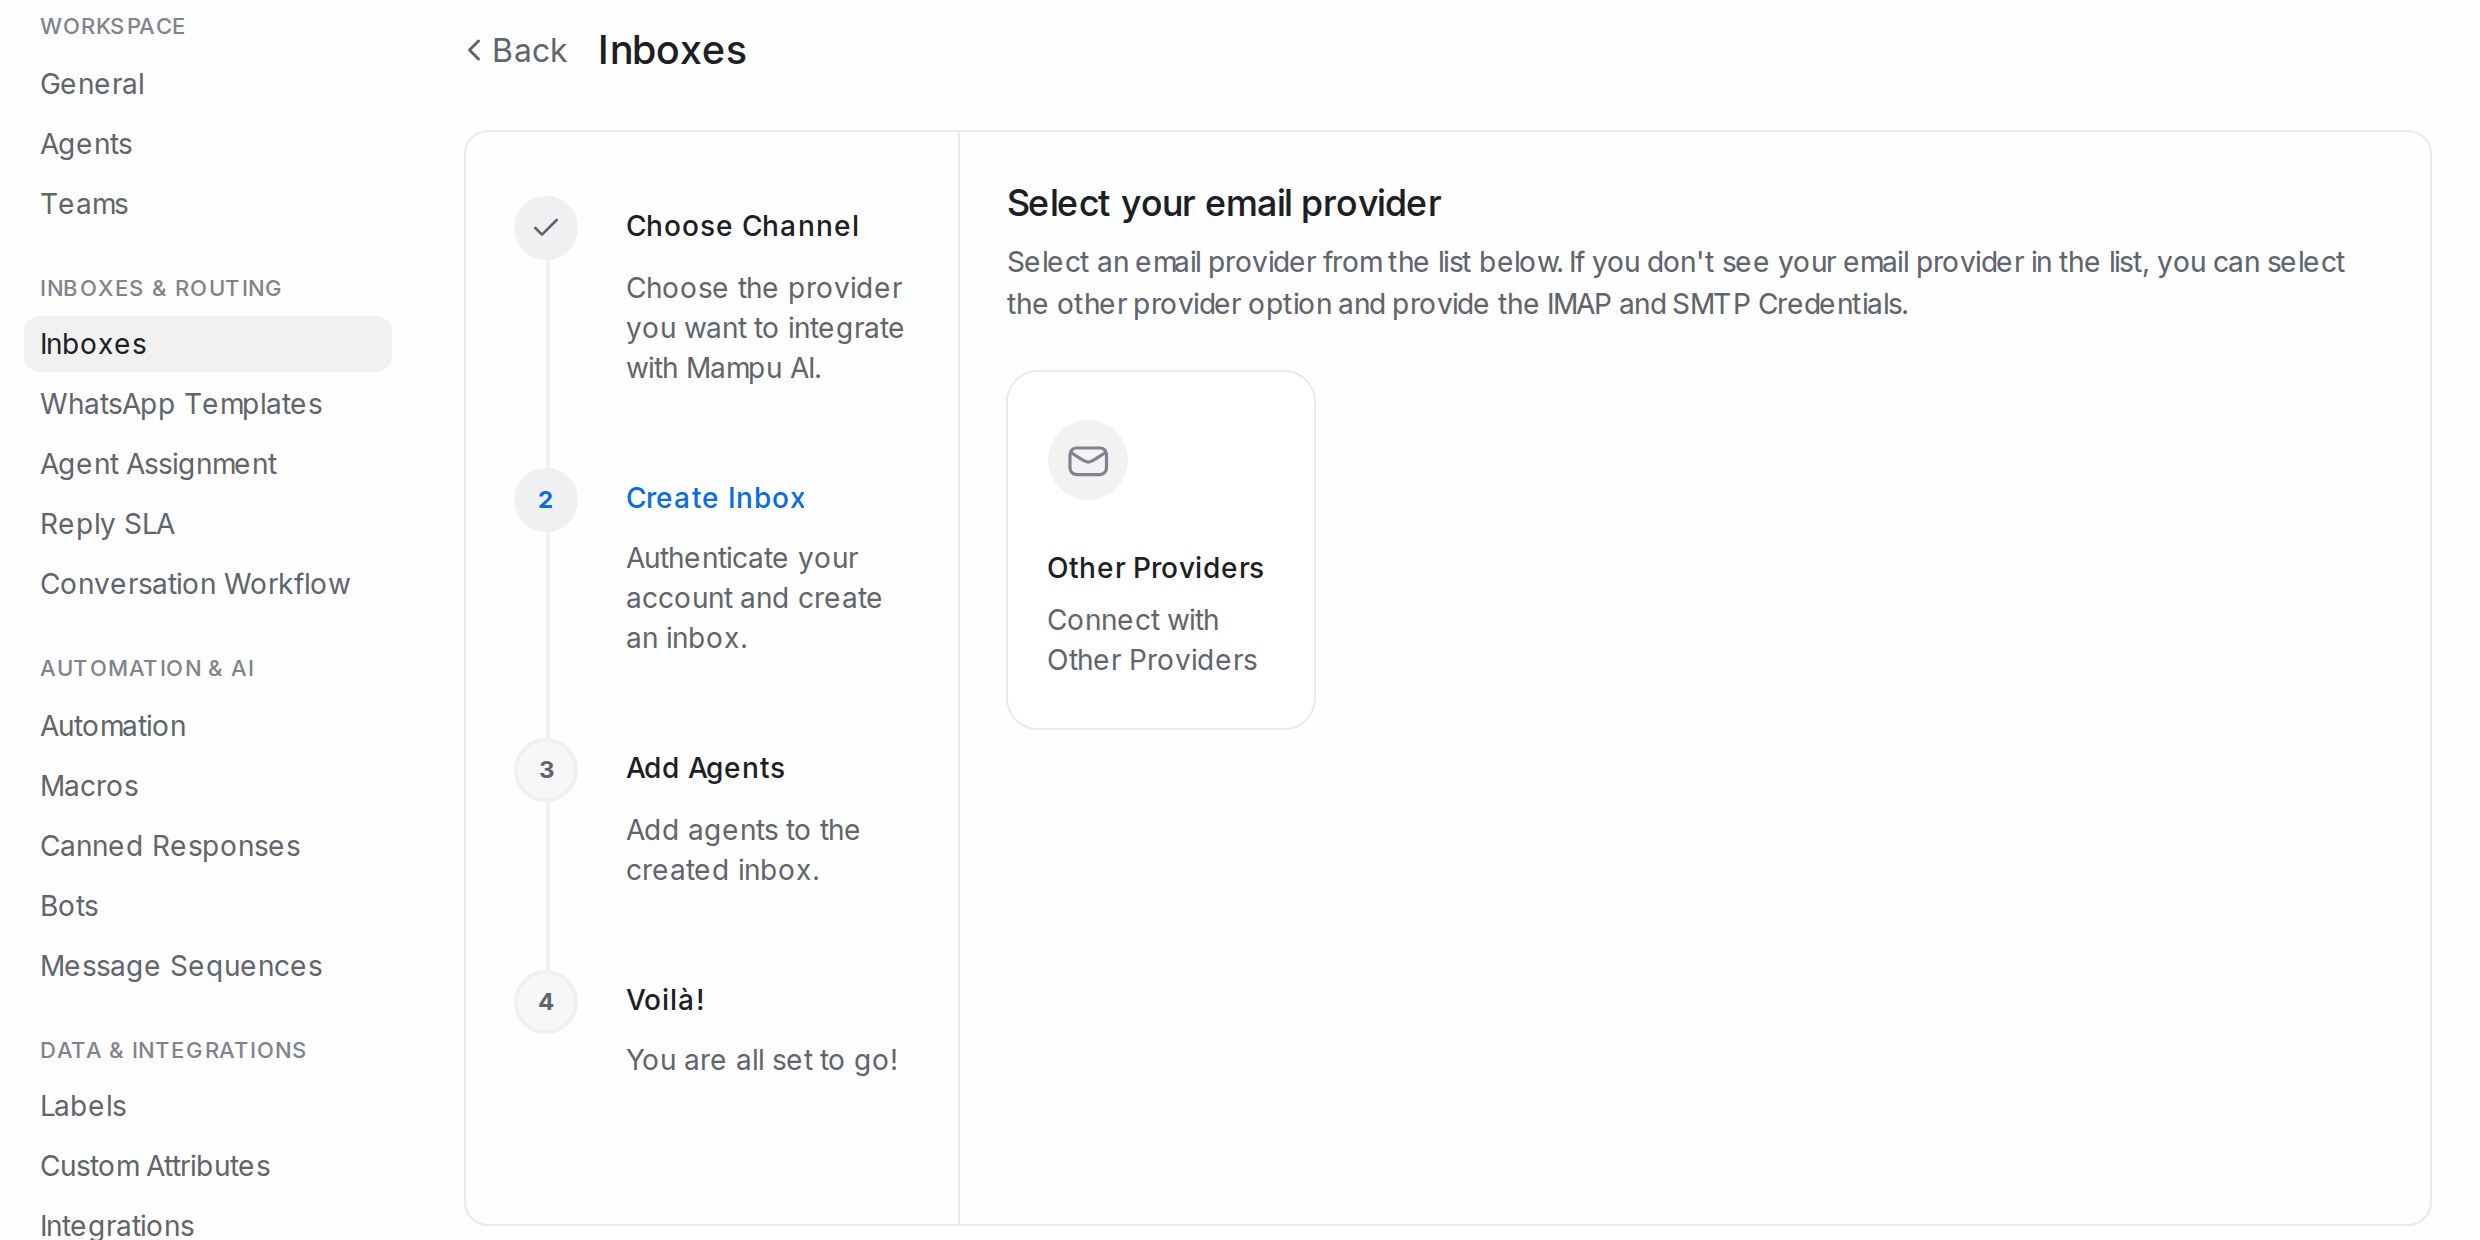
2. Name the channel
- Channel Name: how the inbox appears in your sidebar.
- Email: the address your customers write to.
Click Create Email Channel, then pick the agents who will answer and Add agents.
3. Forward your mail
The last step shows Forward emails to this address with an address that belongs to your new inbox. In your mail provider, set up automatic forwarding from your support address to it. From then on every email arrives as a conversation.
4. Send replies from your own address
Forwarding alone lets you receive. To reply from your own address, click Click here to configure IMAP and SMTP settings, or open the inbox later and go to Configuration:
- IMAP: tick Enable IMAP configuration for this inbox and enter your provider’s Address, Port, Login and Password, with Enable SSL as your provider requires. Click Update IMAP settings.
- SMTP: tick Enable SMTP configuration for this inbox and enter the Address, Port, Login, Password, Domain and Encryption (SSL/TLS or STARTTLS). Click Update SMTP settings. SMTP needs IMAP set up first.
Your mail provider’s help pages list its IMAP and SMTP addresses and ports.
After the inbox is live
On the Settings tab, Sender name decides what the customer sees in the From line: Friendly adds the replying agent’s name to your business name, Professional uses the business name alone. Conversation Routing decides whether a customer’s next email reopens their last conversation or starts a new one. See Inbox settings, tab by tab.